
How do you trace a leak through the assembly?
Begin with the interior symptom, but do not stop there. Record the room or equipment affected, whether water is still entering, and what changed before the first report. Compare the interior location with the roof above it, then trace toward nearby drains, parapets, penetrations, expansion joints, and seams. Water can move between layers, follow a deck flute, or travel along framing before it becomes visible. The wettest ceiling point may be far from the failed flashing.
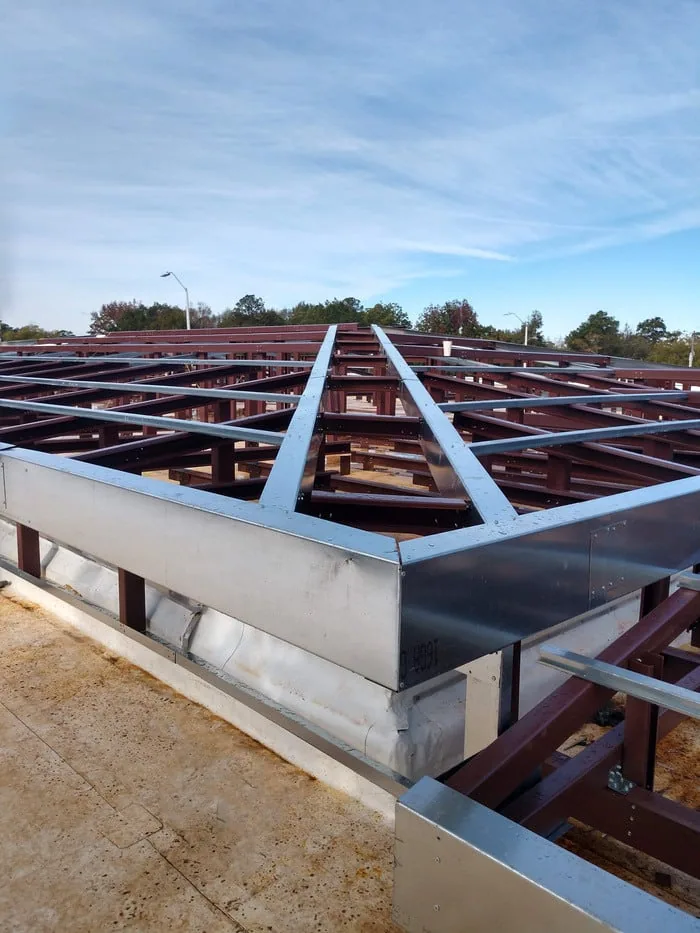
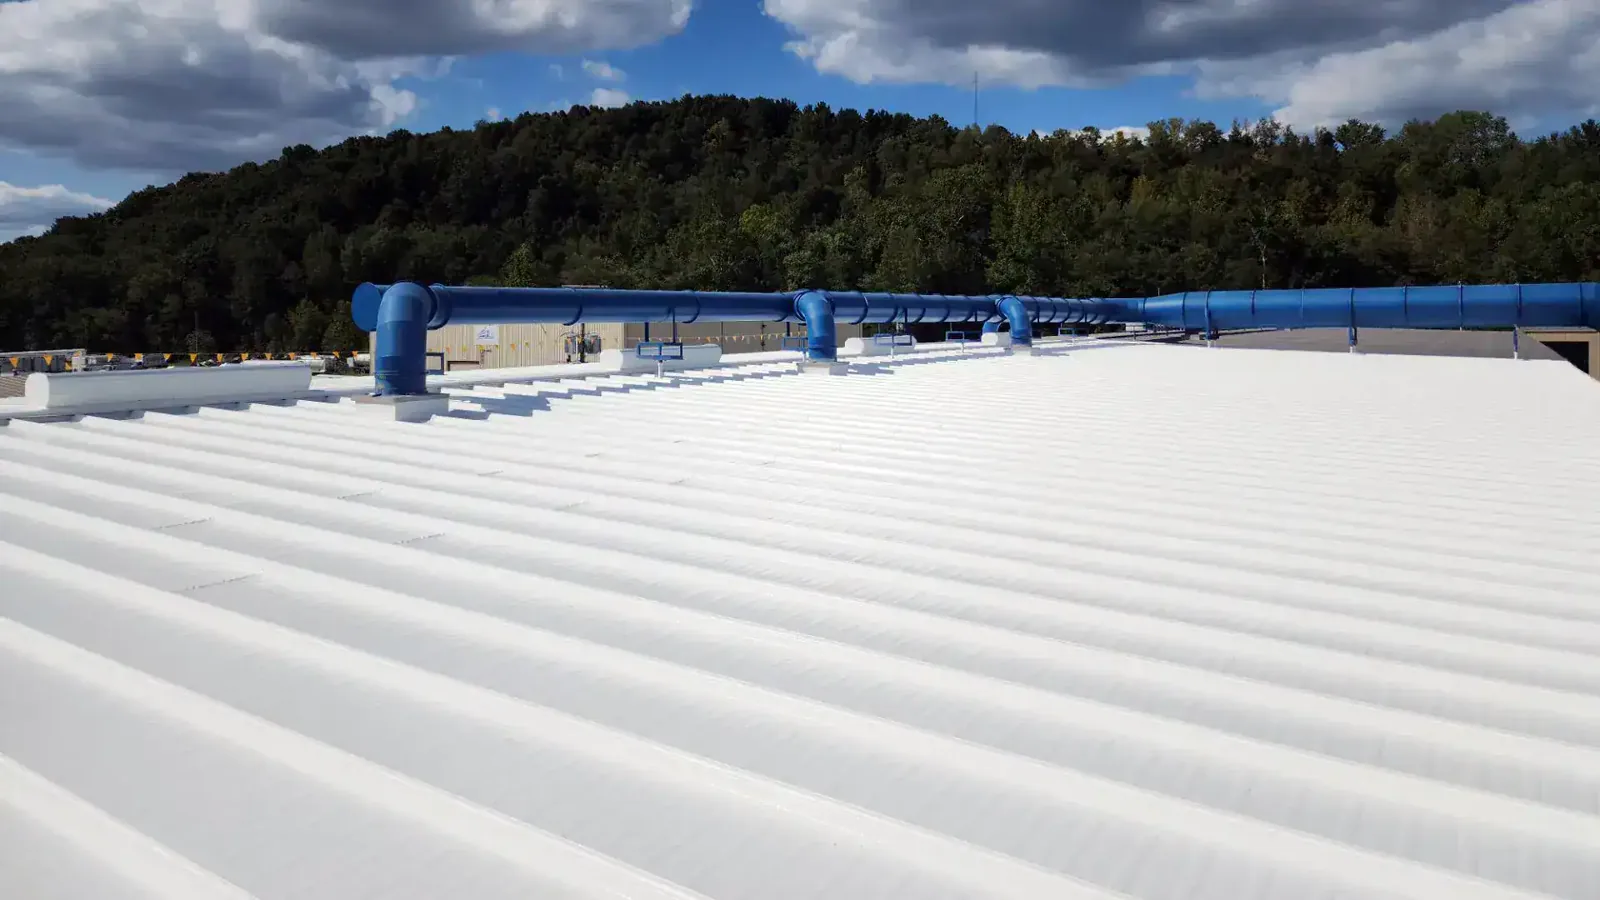
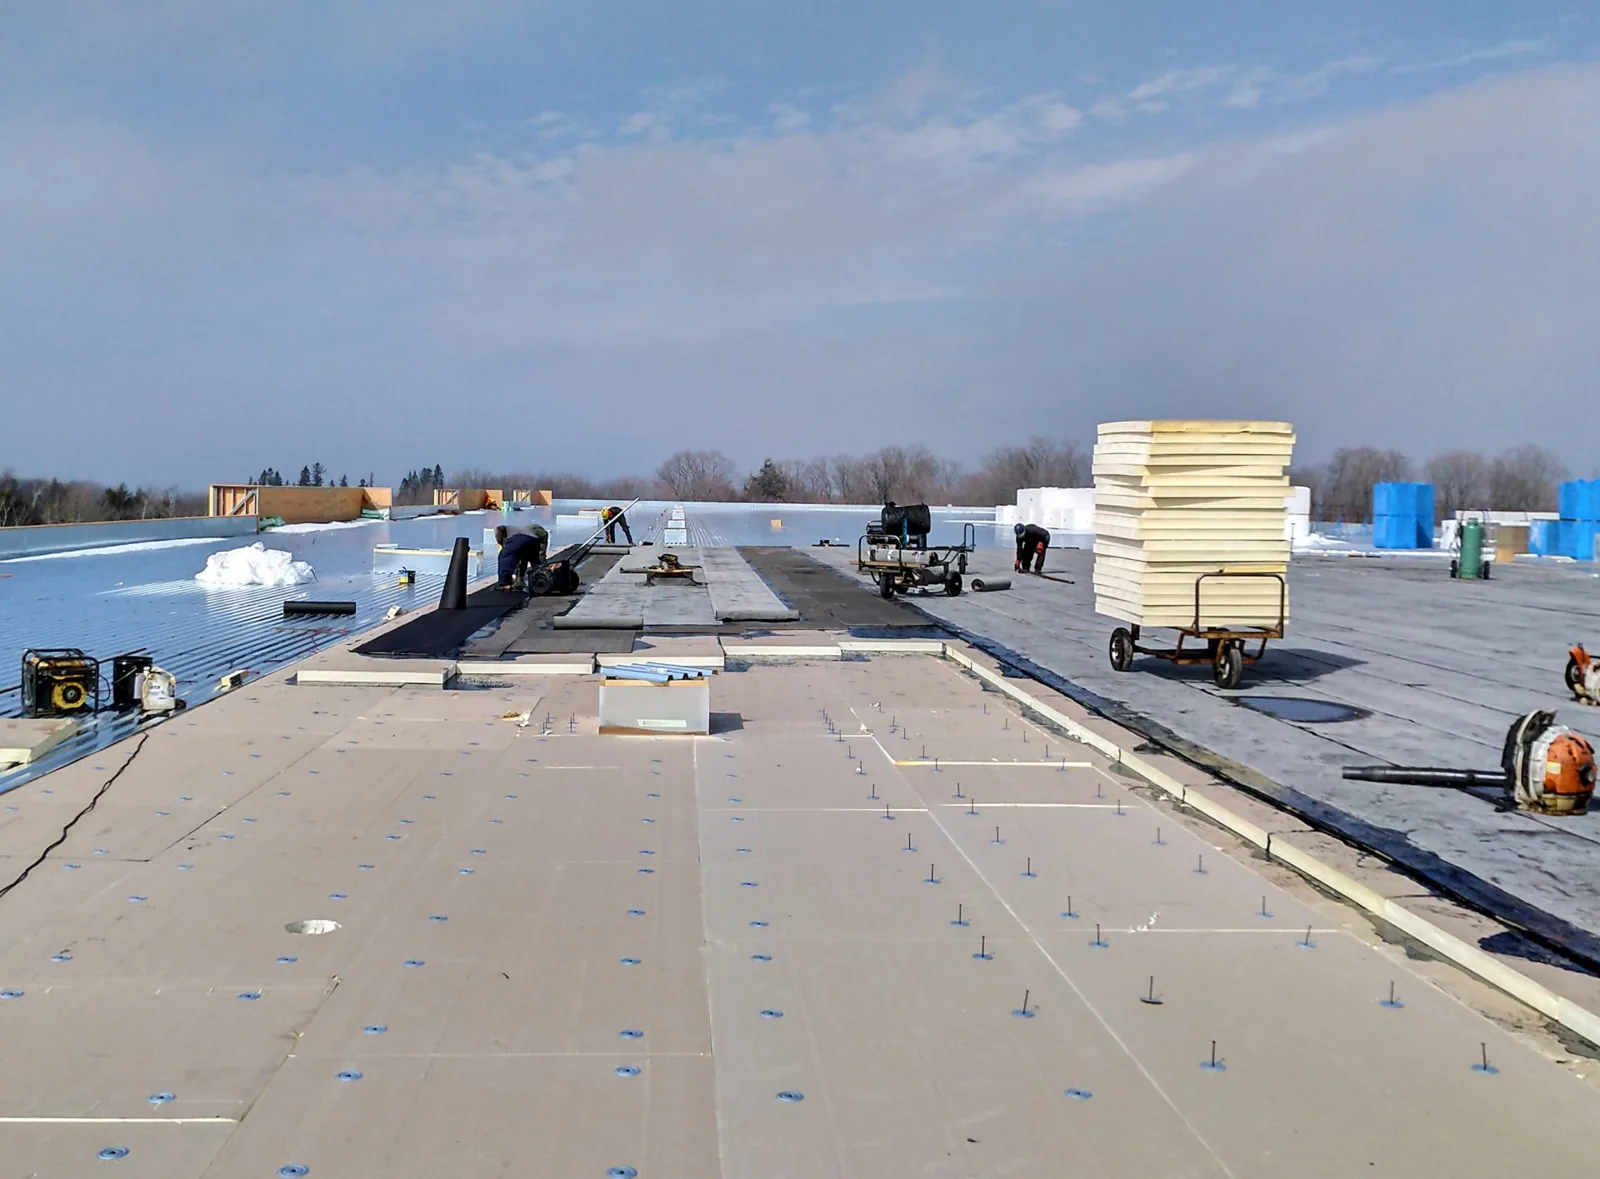
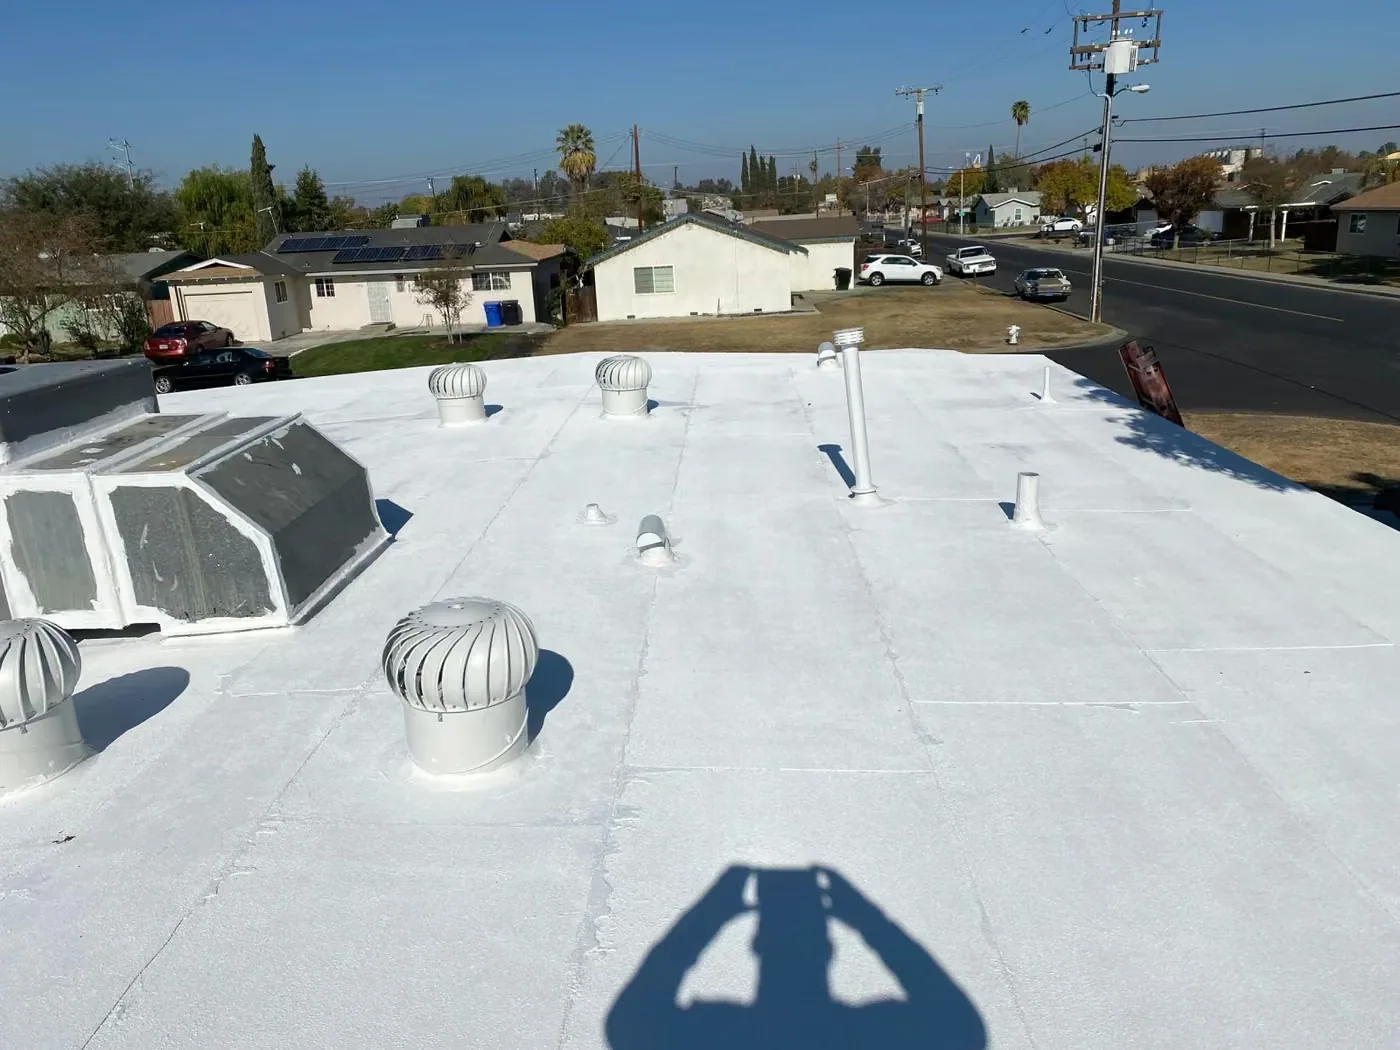
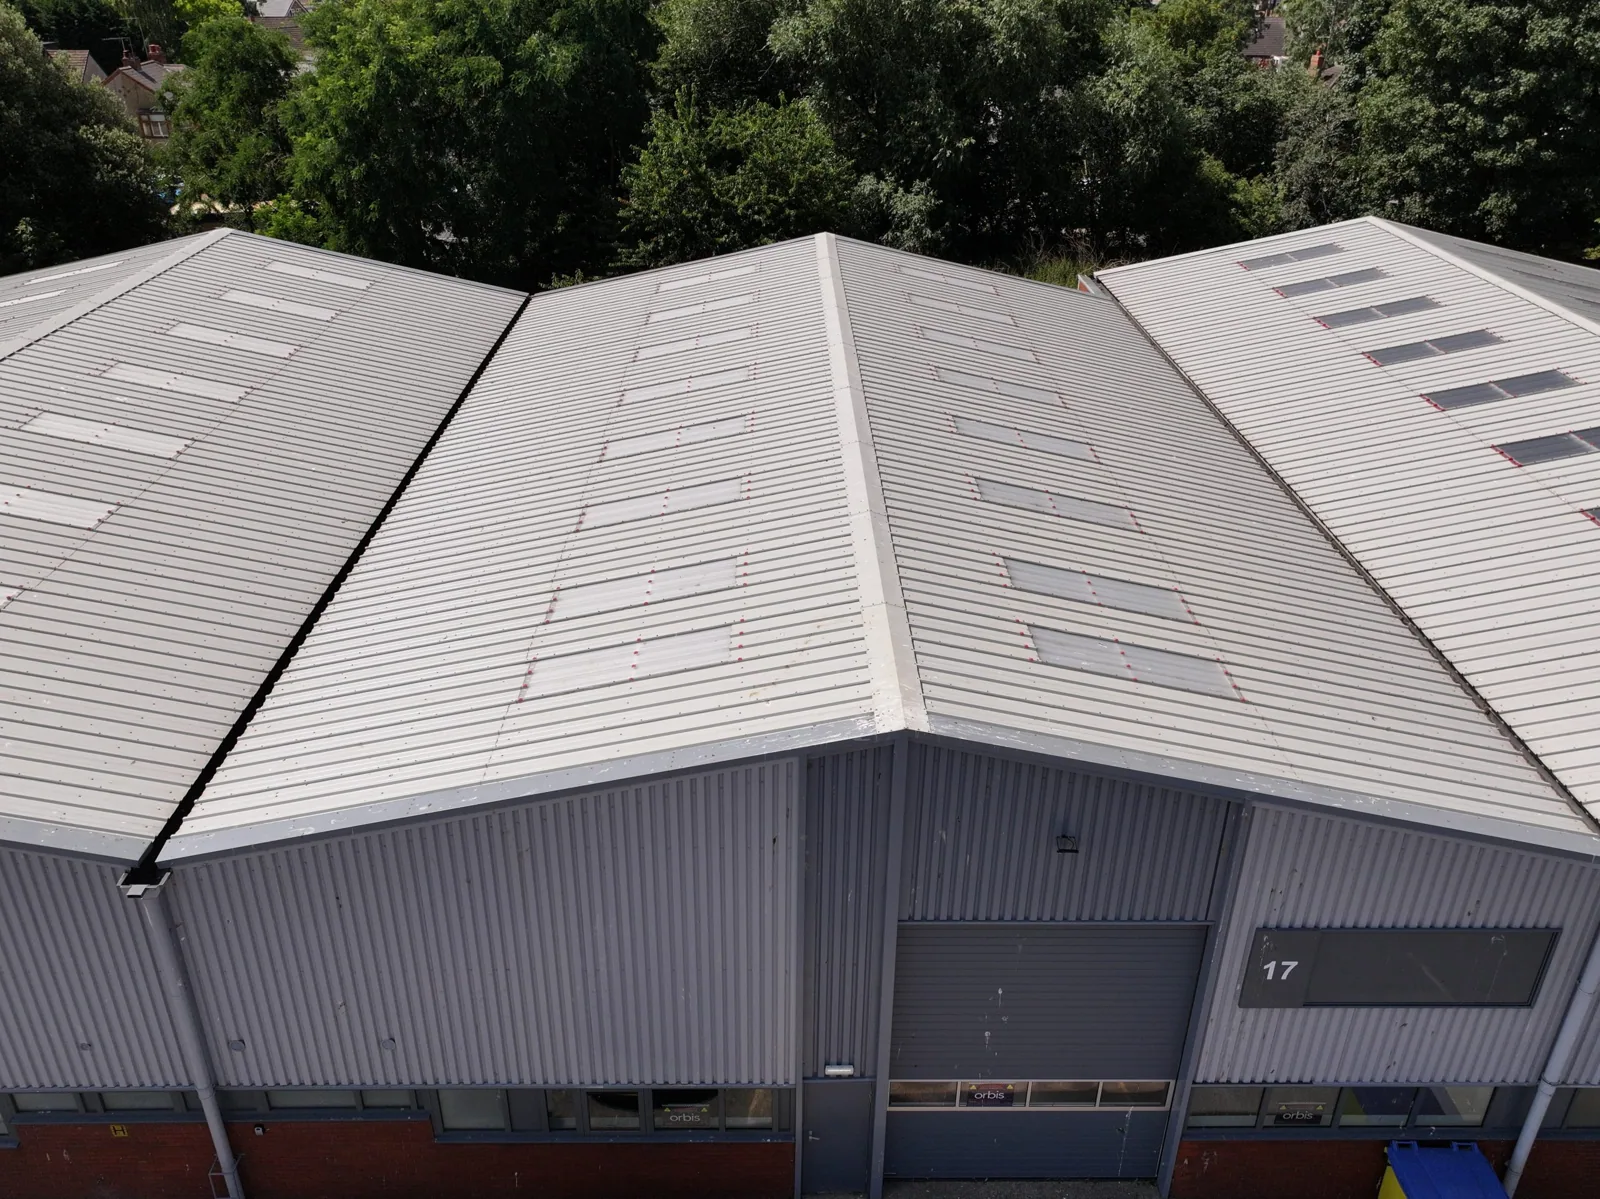
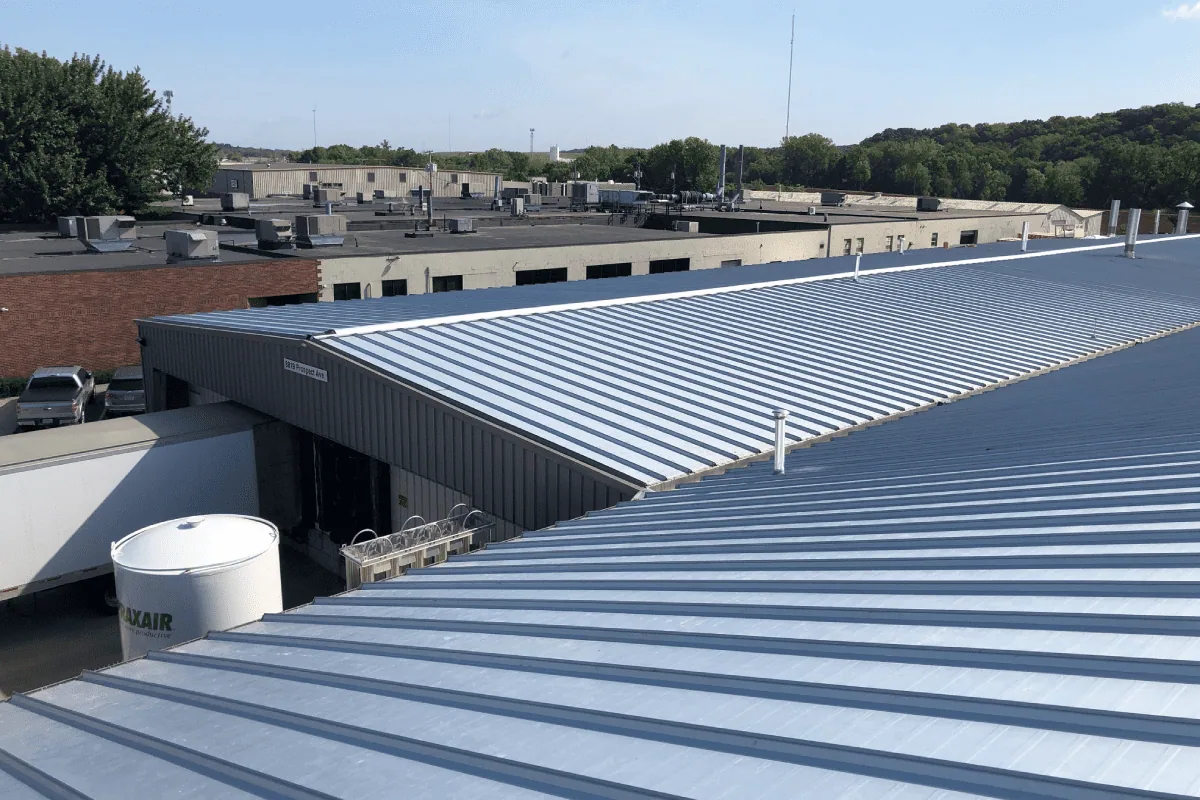
On the roof, photograph each likely entry point in relation to a fixed reference. Inspect the membrane surface, seam edges, wall termination, and any prior repair. At a metal roof, look at fasteners, panel laps, and the details where the roof meets a wall or curb. At a low-slope membrane, check for splits, punctures, fishmouths, or an edge that no longer bonds. Do not infer a repair from the stain alone. The detail that failed determines what has to be removed, cleaned, and reconnected.
A roof condition report can keep the photographs, roof map, and finding together so the owner knows what the contractor actually saw. If moisture may extend beneath the surface, select a limited verification area and describe why it is needed. A thermal survey can guide that choice, but a concealed layer may still require an opening to establish its condition.